Showing posts sorted by relevance for query crib bench. Sort by date Show all posts

Wednesday, March 23, 2011

The Other Three Benches Revealed !!!

You've all seen the Robin Egg Blue Bench and that was one of four benches that were done in the last two weeks. Pretty crazy, Right!! Thank goodness...I didn't have to do everything on all four of these benches. But, I wanted to show you how all of them turned out!!

This is the client's bench! A real beauty!!
This is my sister's bench! So cool!! 
My sister had bought a headboard/footboard about two years ago and she had told me,"the next time you make benches, will you help me make mine?" SO....once I was making the custom order bench (already had my power tools out) it was a no brainer.
This is my neighbor's crib bench!! Lovin' the style of this one! They all turned out different yet, SO cool!

  My neighbor even got in on the action and made a bench out of her crib because they are done having kids but, was keeping the crib for sentimental reasons. Perfect reason to make a bench. You get to keep it yet, it's something new!
Let's start with the custom order bench.
This is the custom order bench...pretty sad way to start out....being scraped and sanded. She was a beauty in the making!! I spent about 2 hours scraping paint and sanding. A little more than I expected but, it was worth the result.
The paint underneath was cool but, needed a little taming.
The client mentioned that she wanted a bench like these two different benches that she liked. One she had seen at target(it had three baskets underneath for storage and only liked that part of it) and my black/white bench I made quite a while ago. I had her come pick out the headboard/footboard that she liked and then I went to town building it! She knew that no two benches turned out alike and that's what she wanted...a custom peice for her entryway.
I built the seat out of thick boards with a skirting of 2x4's for sturdiness and used MDF for the shelf with 1x1's with "L" brackets for support. There was only so much space between the seat and the bottom to build in this shelf so I didn't want it bulky.
Every screw I counter-sinked, so it all had to be filled with wood filler. This is extra work but, I always like it to look finished. You can see here, the filler holes. Between the four benches we used an entire box of screws. These are VERY sturdy benches and will LAST!!
Primed the bench because a lot of it is raw wood and would SOAK up the paint.
Purdy...all white...but, the client wanted black with white showing through with a little distressing.
With all the detail of these benches, I opted for spray paint this time. I wanted a perfect finish.
A vinyl was customed designed to personalize the bench because it was going to be in an entryway. 
White was chosen for the color because the distressing on the edges showed the white coming through. 
Then the back of the bench was sealed with polycrylic. I had already sealed the entire bench except for the back of the seat because I was having the vinyl custom created. So, as soon as I got the vinyl....I got it sealed and ready to be taken home.
Here she is all dry and ready for baskets. 
You can see the slight distressing. This helps show off the details of the bench and add character.
Here's the bench in the entryway of the client. Isn't she GORGEOUS!! I have never had anyone ask for a shelf on the bottom for baskets but, it's definetely a WINNER!! Now she has a place for her kids to take off their shoes and store them away. I love how this turned out!!!

Now, my sister's bench.
This bench is the one I helped my sister make. She calls me the master bench maker but, I didn't have to help her that much to get hers done. A lot of building the bench is taking the time to cut everything to size and then drilling, drilling, countersinking  and doing it again and again and then filling the holes. She came a few days in a row but, as I was finishing my clients bench (my sister wanted hers black as well) WELL, it sorta got primed and painted and finished while she was away. I don't think she minded!
Her headboard and footboard aren't identical but, had the same feel. The spindals are more square on the back and circular on the sides but, when it's all painted out...it looks really similar.
Here is her bench at her house. I can't wait to see what pillows she puts on it! So cute!!
My good neighbor was watching all the commotion in the garage and was looking at all the benches being made. She had discussed with me that she wanted her crib made into a bench because it was sentimental and she didn't want to just store the crib. So, because my sister was building hers...I helped her by showing her how to build hers too. Tools were already out...the more the merrier!! It was a bench building party for like 3 days!!
When I started this bench build...I really hadn't planned to have four done but, it just sort happened that way.
Because the back of the crib had a rise in the center she decided to use that as the back of the bench and to make it a long, slenderer (spp? is that even a word) bench. She had the perfect wall to put it on. She had started accessorizing the room in a deep turquoise blue color with brown and green as the other room's main colors. She went bold and painted her bench in her accessories color. (You can always repaint....RIGHT?...that's what I told her)
Cribs have lots of hardware holes so it took lots of wood putty.
She painted it this beautiful blue color (it looks brighter in the picture than it really is) and then sanded to show some of that dark walnut original color of the crib. Pulling the brown from the room in. It turned out SO beautiful. I need to get a picture of it with her pillows on it. She's not home today or I'd run over and take one...I'll add one soon.
So, now you've seen the other three mysterious benches that I was talking about. Here they are and they turned out each beautiful in their own unique way! I love them all but, I especially love the shelf for baskets...I might have to do that style again!!

Cassy Final

Saturday, March 24, 2012

Bench made out of a Baby Crib

DSC_0641
I have been meaning to go to my neighbor’s and ask her about taking a picture of the crib bench that I helped her make out of her children’s crib. The crib was sentimental and she didn’t want to just throw it away but, with all the new regulations, it probably wouldn’t be a working crib anymore. So, we sawed, cut, built a seat, filled screw holes, primed, painted and distressed to reveal this beauty!
DSC_0648
Here is the crib on the long wall that she couldn’t ever find the perfect piece of furniture to fit and the crib bench fit perfectly! It’s skinny so it doesn’t impede the walkway and brings in the pops of turquoise she is infusing in this fun family room.
DSC_0649DSC_0646
The turquoise blue is so pretty and the pillows are the perfect colors to bring the brown of the room over to the bench.
DSC_0650
Different view of the room.
DSC_0638DSC_0643
I am so glad that I was able to help you build something that can be special for many reasons. I love when pieces are sentimental and functional at the same time. I was happy that I could help you/teach you how to build this bench while I was building two others. It was a fun few days. I still can’t believe we built three benches, one with a shelf, no less, and had them done in three days. Wow, looks good! I will definitely make a bench out of my own crib when my baby is finally done with the crib. Thanks for letting me come and take better pictures of your fabulous bench made out of your children’s crib!
DSC_0641
I love the colors, the lines even the pillows on this crib bench! So fun and now you have a functional piece again from a used-to-be functional crib!
CassySignature2

Sunday, June 28, 2009

Benches

These benches are made out of vintage and antique beds and cribs. They all have custom pillows and ties. Each bench is a one-of-a-kind and you won't find anywhere else.
This bench has a custom paint job. It is white with a sage green crackled over the top and then antiqued with a glaze. The pillows are custom made to match the bench. The cording accent is a green microsuede. The pillow colors are green, blue, white and chocolate brown. Such a cute bench!! The Americana Bench is painted Colonial Red with a custom made pillow. The front of the pillow is a hand peiced quilt top in a subtle flag design. The pillow is antiqued and has coordinating ties and cording around the edge in a tan brown. The backside of the pillow is also tan brown and is reversible but, I love the Americana front!!


This bench is longer than the other benches. The pillow is made from super soft chenile with coordinating black microsuede pillow ties. The plaque states "family" which perfectly sums up the size of this bench, it's the perfect size for a family. The pillow is custom made to fit the bench and ties to keep it in place. The pillow is black with flourish/scroll pattern in it. It is hard to see the design because it's monochromatic but, is super soft and is the perfect touch to this bench.

This bench is made out of a kids bed and part of a crib. The seat is padded and custom upholstered in super soft polka dot chenile. The pillow is reversible with a cute pink and white plaid or pink polka dot to match the seat. The ties are custom made to attatch the pillow with cute bows. This bench is at child heighth and could fit two small children.

I love this bench!! I love the damask print with the coordinating black cording and soft microsuede ties. The bench is perfect for an entryway or anywhere in a house. It would be super cute on a porch. The bench is approximately 3 feet long and about the same heighth. Perfect to sit on and take off your shoes in an entryway ,anywhere in the house or even on the front porch.

Tuesday, October 27, 2009

Green and Yellow Bench

This bench is one of my favorites because I love the colors of the bench. The fabric was the inspiration for the color choices. I fell in love with the fabric and got paint to accent the fabric.
The bench sides are made from crib parts. The seat had to be built in custom to fit the bench. There was a lot of pre-drilling required so that the crib wouldn't crack due to the small parts. It was fun custom building in the seat and was fun to cover in gorgeous fabric. The fabric was an end peice of a roll because it was originally $30 a yard fabric that I got for a couple of dollars because of the small size of the fabric left. I love when you can find a great deal on really great quality fabric!!


This bench turned out gorgeous. The upholstered seat is so perfect for this smaller bench. It's made out of a crib and is a little smaller than some of my other benches but, I love the size and would be a great fit in a lot of places. Go check it out at The Silver Drawer on Antelope by the Theatres in Syracuse!!

Saturday, March 12, 2011

Robin Egg Blue Bench

The Robin Egg Blue Bench is one of four benches that were built this week. I built two all by myself and I helped my sister make hers (she had bought the headboard and footboard over a year ago and told me next time I was building benches to let her come and make hers) and my neighbor built hers out of her crib (done having kids but wanted to keep it for sentimental reasons). I will show you those two cribs soon because they turned out great too!
This headboard and footboard had been in the first stage of a bench build for about a year. I started it at my mom's and finally had a trailor to take it home to finish it (we live a few hours apart).
I scraped the flaking white paint off (which took quite a while) and then added some brown and black paint in a very random pattern. I know...it looks worse...and be prepared...it gets EVEN uglier before it gets better. It was quite a process, which I was making up as I went along.
 I had used wax to rub along edges before in other painting projects so I could distress edges more easily but, I wanted paint to show through across the entire project. I wanted a random pattern. I didn't know if this would even work but, I am always willing to try something new to try and get the desired effect I was wanting.
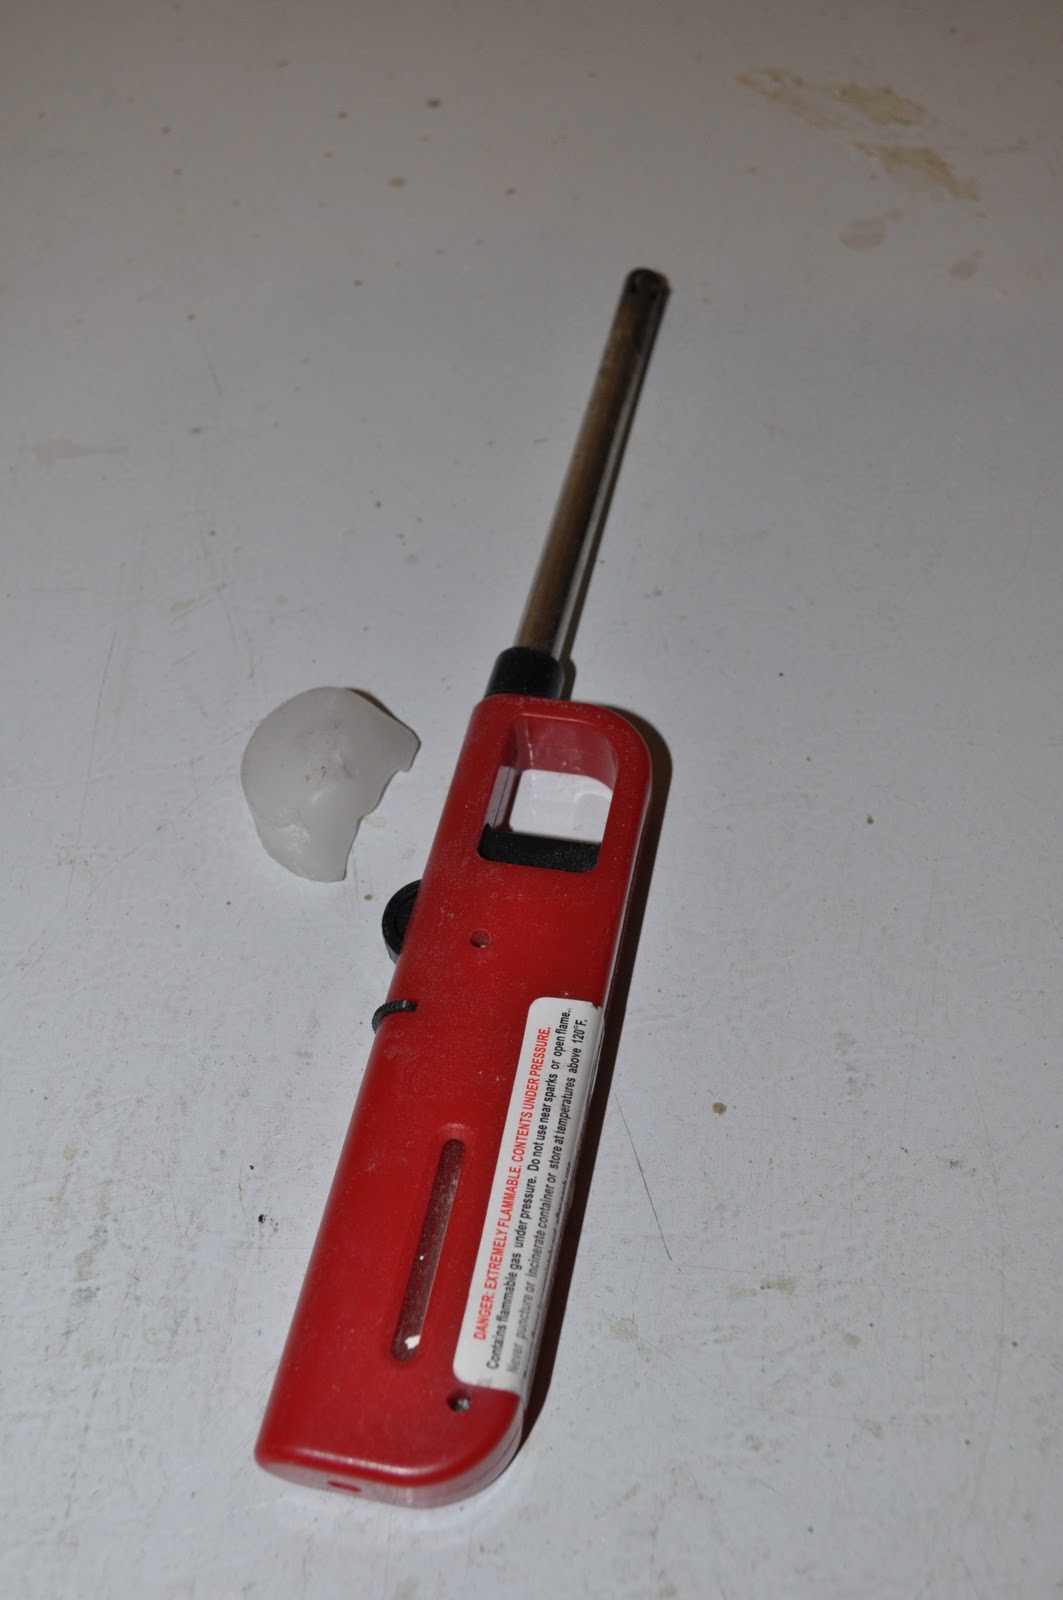
I had to use a couple of candles because they would get too small and the flame would get a little close to my fingers. I let some drip in larger spots and then I flicked a little bit to get the random pattern I was looking for.
I tried to keep my wax on the brown and black because that would be the color that would show through the top paint color.
This bench looked really ugly before it got better. It definetely was a ugly duckling turning into a beauty!
I left the wax on the bench and painted it the top color of Robin Egg Blue. You can see the bumps all over the bench, this is the wax.
When I started this project, I thought that the wax would leave a "pit" in the paint. I was wrong. When I went to scrape the paint off over the wax, it came off at the same depth as the paint.(I've never tried anything like this). It left no "pit" and was smooth and even with the paint.
The scraping part was the funnest (not a word, I know but, that's in honor of my kid that uses it all the time and doesn't seem to care that it's not a word) part of the project. You can see all the beautiful flecks of brown and black showing through the robin egg blue paint. It is smooth to the touch.
I love the detail this added to the bench.
The only thing left to do is to seal the project. I used my favorite sealer Minwax Polycrylic Satin finish Sealer.
Then, I (really, it was my husband) moved it into my entryway. I (once again, the awesome hubby) moved my grey bench downstairs so that I could change them out for the seasons. The blue one for spring/summer and the grey one for fall/winter. It sure is fun having a change in the entryway. Something cheerful and inviting as soon as you enter our home!
I love the details of the specks showing through. It turned out better than I had hoped. I saw a high end table that had a few specks around the edges and thought I could use wax to re-create this look.  I have never seen this technique and just thought if the wax worked on distressed edges(which I had tried before) then it would work if I melted it and used it to create spatter. I wanted it to look well loved and welcoming.
I am so glad I tried a new technique...it turned out beautiful! I tried it on my own peice first, just in case it didn't work and it was worth the gamble. It paid off BIG!! I think it's beautiful!
Such a happy addition to the entryway!
Cassy Final

LinkWithin

Related Posts with Thumbnails