

I got bored last night after the kids went to bed last night and my husband was at a class all evening. So, I restored and updated this cool chair.

I had to first pull it all apart. This picture is of me putting it back together. My camera was in the car with my husband. Oops! I think you get the idea.

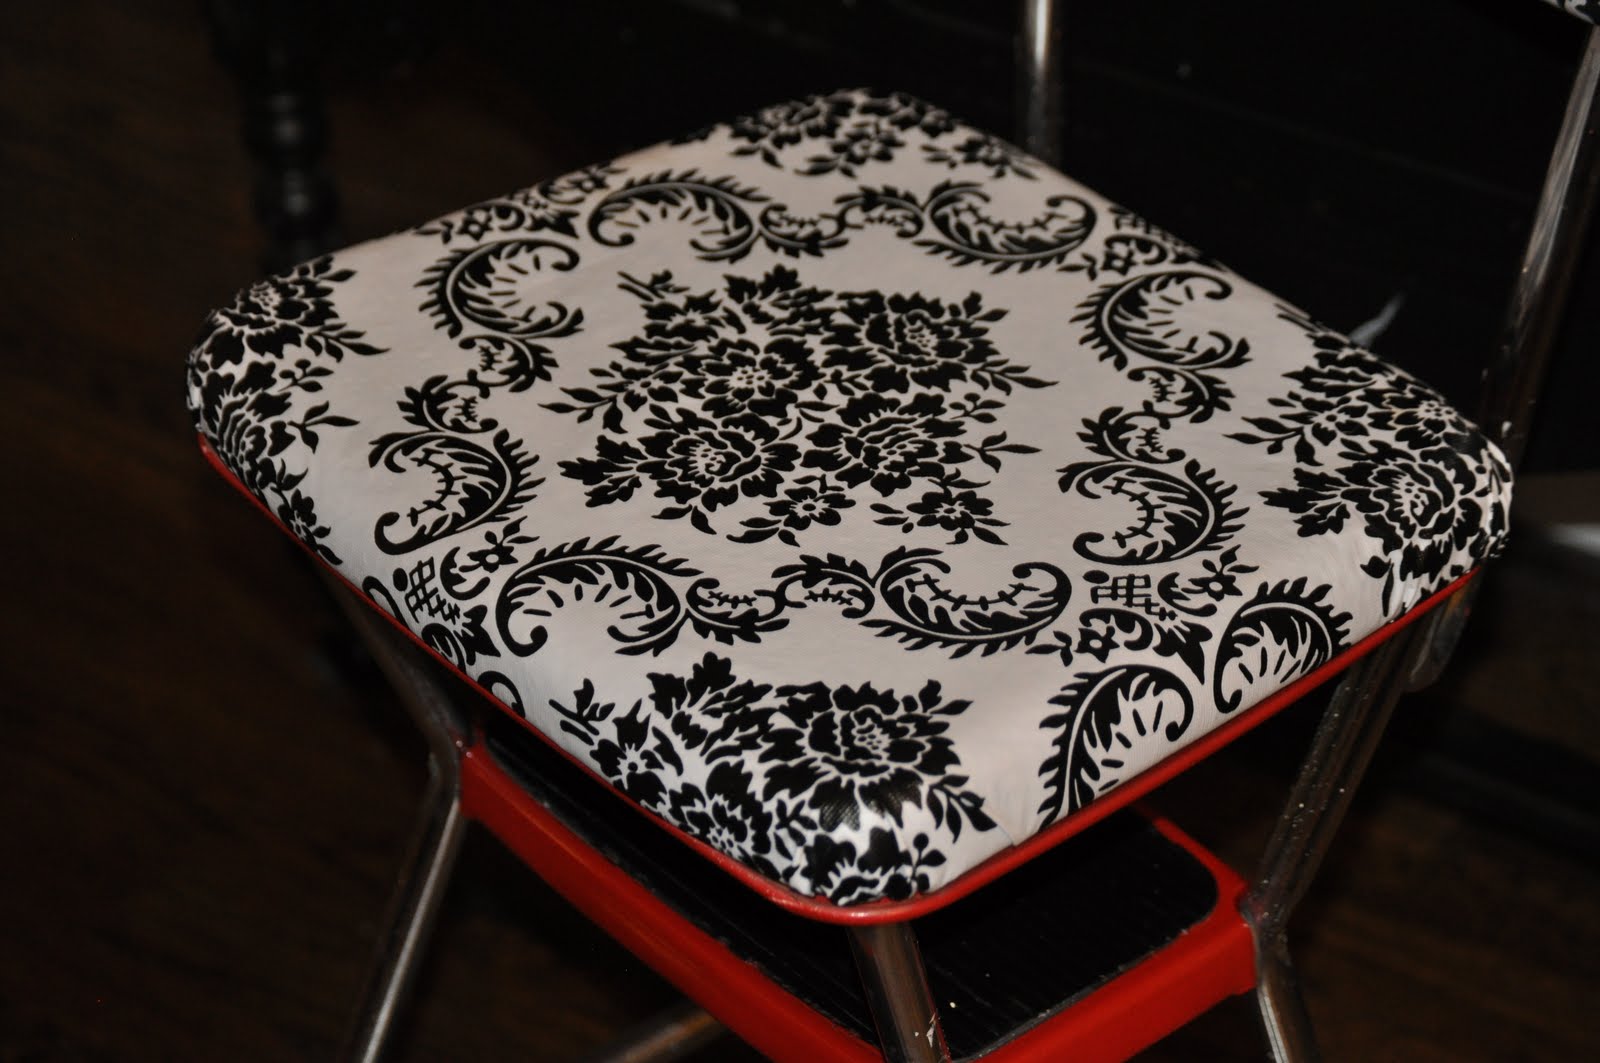
Here's my supplies! I actually had everything on hand except the black and white vinyl. I found this fun vinyl at a local fabric store and it was already water proof. Perfect because I won't have to cover it in plastic to protect the fabric like my last chair. I don't mind covering it in plastic to protect against the kids but, this was fun to find something that I didn't HAVE to.

Here is the new chair by the last chair I covered. The one on the left is covered in plastic to protect it and the one on the right is made out of vinyl used as table cloths. Can you believe it...less than $3.00 a yard! So, I spent some time, used some supplies on hand, and spent less than $3 to update this chair. I did find the chair for $5 at a local thrift store. So, I am at around $8.00 total...great price!!


See...this chair had potential. The metal was already red but in need of a new paint job and the upholstery needed to be redone. Even the rubber strips needed some TLC. Perfect little project for me!

I had to scrape the paint off the rubber then use special fusion paint to get it back to perfect!

The top seat lifts up and it is a kitchen step stool...I love classic!!! This is just like my grandmother's chair...maybe that's why I like them so much. Great memories!

I love how the metal was already red because when I found this fabric...I knew exactly what I was going to do with it!!

I love how the chair turned out and it really didn't take very long. The longest part was waiting for paint to dry and you know how long it takes to dry when you are watching paint dry...as long as it takes for water to boil! LOL
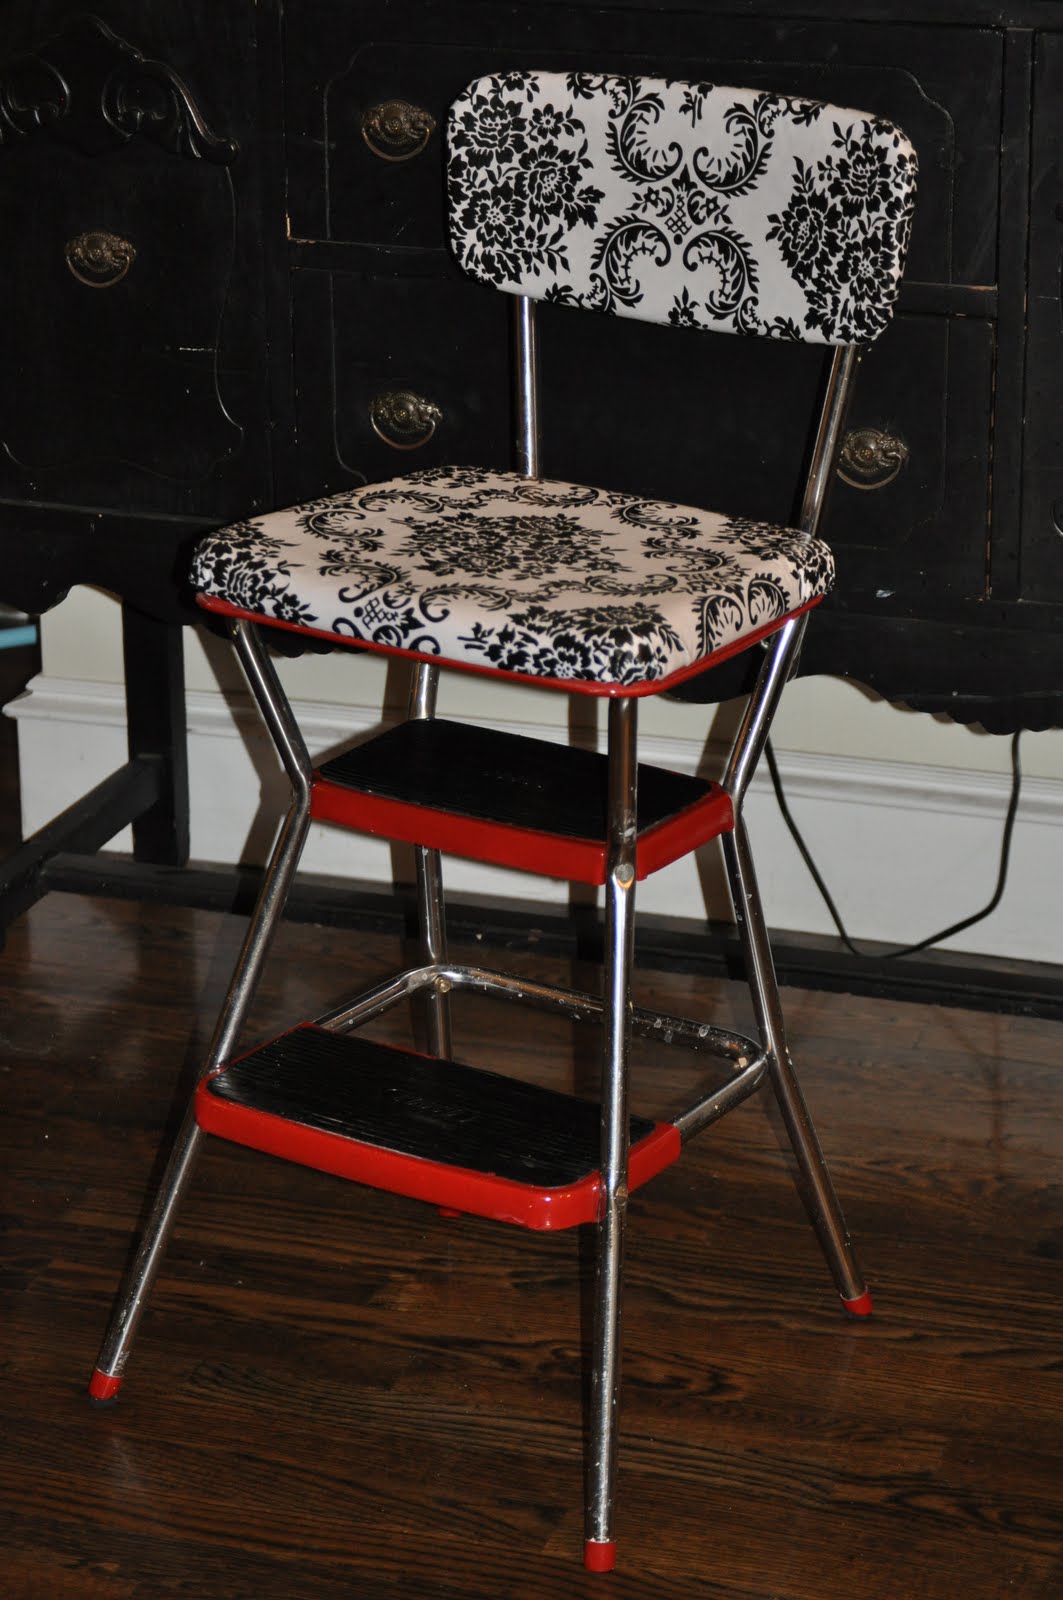

I love this chair! That shouldn't be a surprise...I love black and white paired with red.

Perfect little evening project. It kept me occupied while the hubby was away.

5 comments:
This is great! I have one very similar I want to redo. You mentioned the rubber on the steps. What exactly did you use on them? Mine are a bit grubby and want them to look as good as your steps do. Thanks for the inspiration. I love your blog!
Denise
Denise,
I used "FUSION" black spray paint because it says on the spray paint bottle it can be used on plastic, wood, metal, etc. so I figured it could be used on rubber too and it worked great!! Just find a versatile spray paint in black and spray paint the rubber step part back to their original glory!
I just found one of these exact same chairs at an estate sale today, that DEFINATELY needs some TLC. Im soooo looking forward to redoing it!
Cassandra, that looks fabulous! I have one just like it that has been relegated to the garage, and you've inspired me to bring it out again. Question, though, how did you remove the seat parts from their backing? It looks to me like it might be glued.
Thanks!
Janet
The buffet in the background looks famialar, I think mine is just like it with the same hardware handles. It just jumped out at me when I seen this, was so surprised. I have table & chairs too, that need to be refinished, though.
Post a Comment