
The Robin Egg Blue Bench is one of four benches that were built this week. I built two all by myself and I helped my sister make hers (she had bought the headboard and footboard over a year ago and told me next time I was building benches to let her come and make hers) and my neighbor built hers out of her crib (done having kids but wanted to keep it for sentimental reasons). I will show you those two cribs soon because they turned out great too!

This headboard and footboard had been in the first stage of a bench build for about a year. I started it at my mom's and finally had a trailor to take it home to finish it (we live a few hours apart).

I scraped the flaking white paint off (which took quite a while) and then added some brown and black paint in a very random pattern. I know...it looks worse...and be prepared...it gets EVEN uglier before it gets better. It was quite a process, which I was making up as I went along.
I had used wax to rub along edges before in other painting projects so I could distress edges more easily but, I wanted paint to show through across the entire project. I wanted a random pattern. I didn't know if this would even work but, I am always willing to try something new to try and get the desired effect I was wanting.

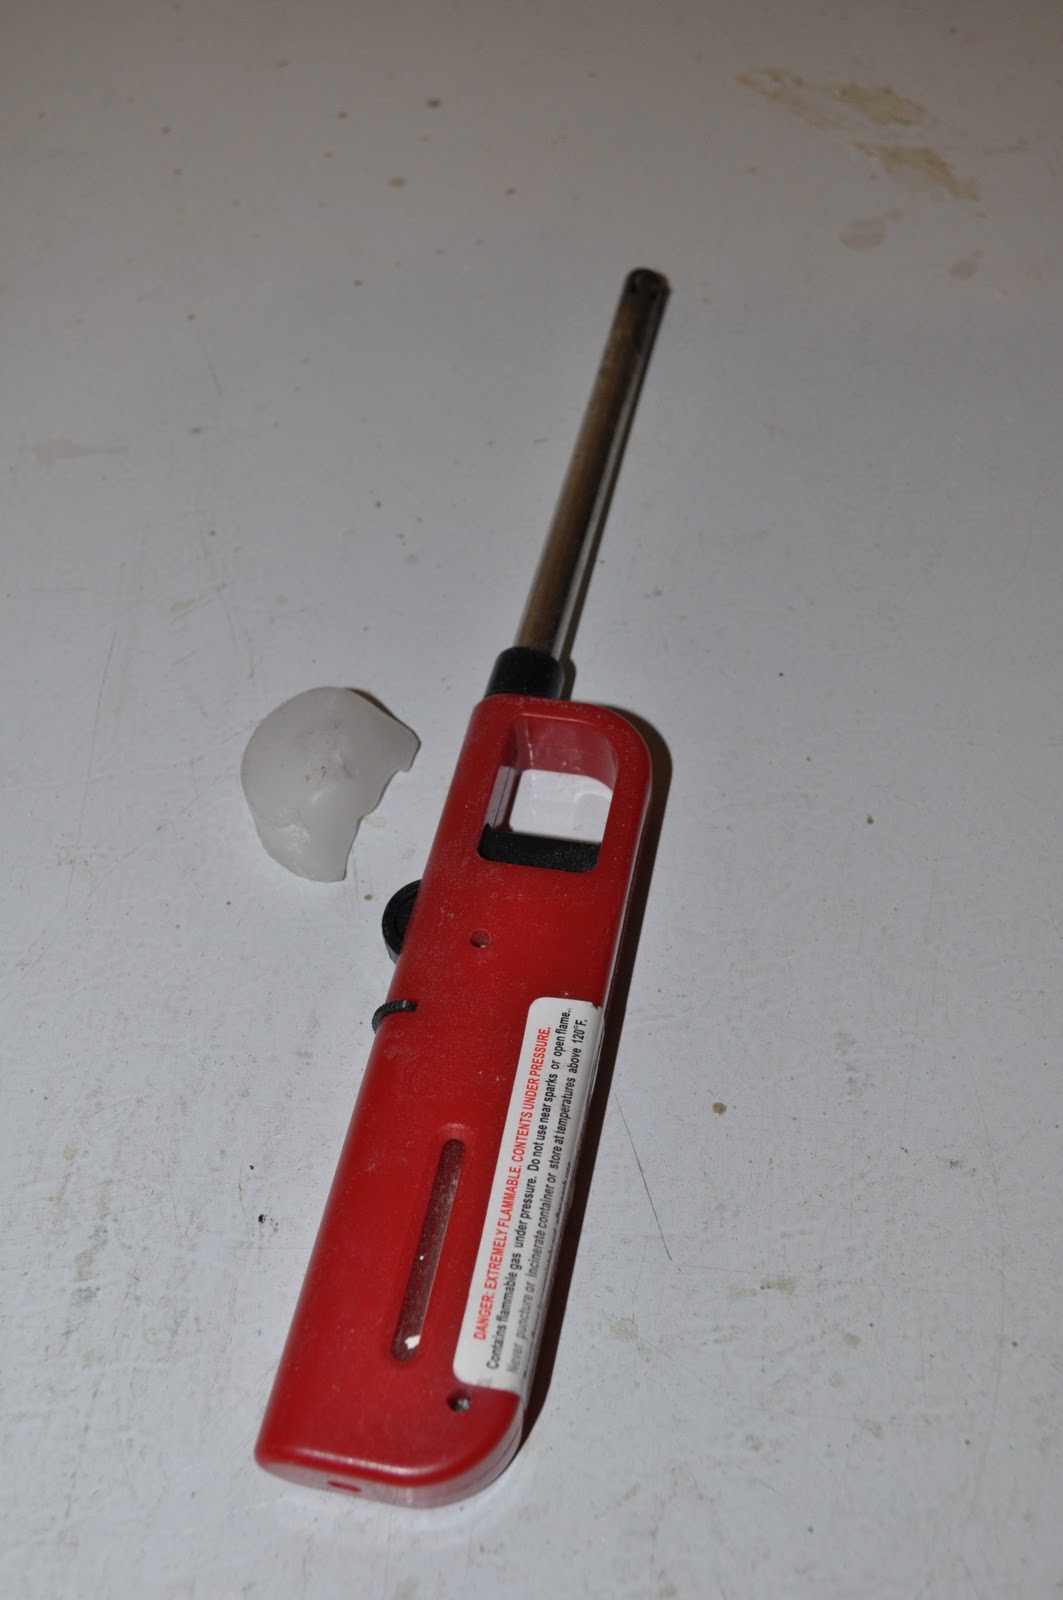
I had to use a couple of candles because they would get too small and the flame would get a little close to my fingers. I let some drip in larger spots and then I flicked a little bit to get the random pattern I was looking for.

I tried to keep my wax on the brown and black because that would be the color that would show through the top paint color.

This bench looked really ugly before it got better. It definetely was a ugly duckling turning into a beauty!

I left the wax on the bench and painted it the top color of Robin Egg Blue. You can see the bumps all over the bench, this is the wax.

When I started this project, I thought that the wax would leave a "pit" in the paint. I was wrong. When I went to scrape the paint off over the wax, it came off at the same depth as the paint.(I've never tried anything like this). It left no "pit" and was smooth and even with the paint.

The scraping part was the funnest (not a word, I know but, that's in honor of my kid that uses it all the time and doesn't seem to care that it's not a word) part of the project. You can see all the beautiful flecks of brown and black showing through the robin egg blue paint. It is smooth to the touch.

I love the detail this added to the bench.

The only thing left to do is to seal the project. I used my favorite sealer Minwax Polycrylic Satin finish Sealer.

Then, I (really, it was my husband) moved it into my entryway. I (once again, the awesome hubby) moved my grey bench downstairs so that I could change them out for the seasons. The blue one for spring/summer and the grey one for fall/winter. It sure is fun having a change in the entryway. Something cheerful and inviting as soon as you enter our home!

I love the details of the specks showing through. It turned out better than I had hoped. I saw a high end table that had a few specks around the edges and thought I could use wax to re-create this look. I have never seen this technique and just thought if the wax worked on distressed edges(which I had tried before) then it would work if I melted it and used it to create spatter. I wanted it to look well loved and welcoming.

I am so glad I tried a new technique...it turned out beautiful! I tried it on my own peice first, just in case it didn't work and it was worth the gamble. It paid off BIG!! I think it's beautiful!
Such a happy addition to the entryway!


9 comments:
Beautiful! I love the color and especially the idea!
I love your blog. Did you know your stuff is all over pinterest? :-) That must feel pretty cool.
Do you just use "L" brackets to attach the actual bench part where you sit? My daughters bed is in toddler form right now. Could I just use the brackets and have wood cut to fit inbetween the 2 side pieces? I didn't see any specifics on how you attached the pieces, where you used brackets, screws ect. I would love to know how so when we return home from Korea I can transform her bed. These are beautiful! Thanks for any help you can be.
This is just the cutest! Where did you get the paint...Robin's Egg Blue?
Thank you for sharing. I have a bed frame that I have been going to make into a bench and you have given me some good inspiration.
Are most of your benches made from twin size head/foot boards?
Tonya,
Yes, I mostly do twin size because most people don't have room for a bench larger than this. I have a queen size bench in my living room but, I am guessing most don't. Ha ha. Anyways, yes I love the twin size because they almost always fit perfectly in any room and can be the perfect "pop" of color.
The closest color is crystal aqua from valspar. Hope that helps!
Post a Comment