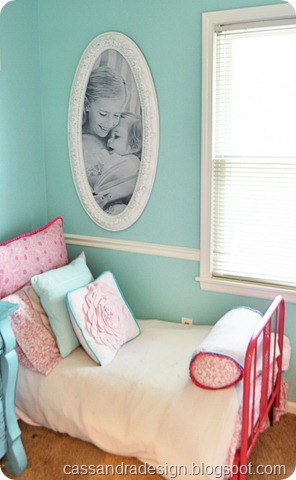
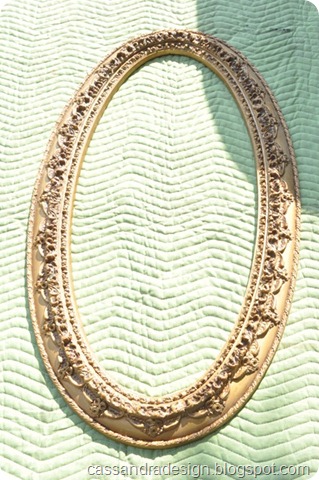
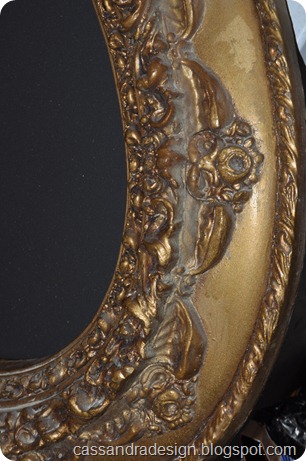
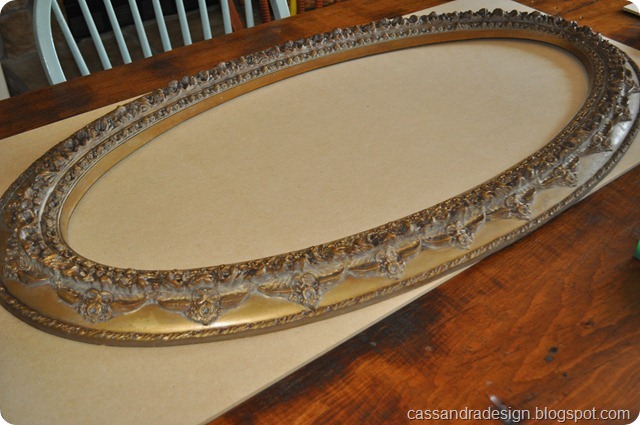
I needed something to replace the cherry blossom vinyl branch that was left in the Utah Home. I found this lovely gold but large frame. It was really feminine with the ornate flower details.
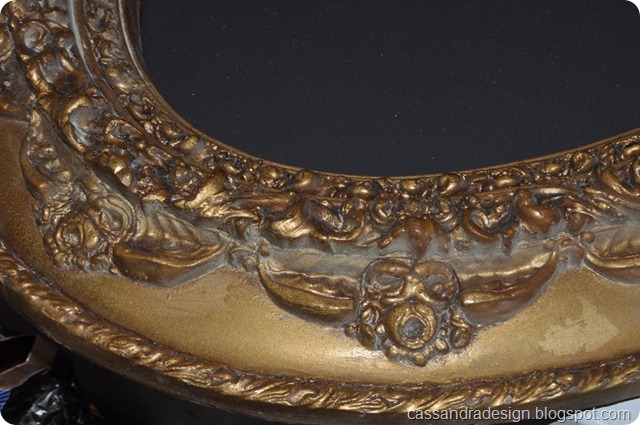
Beautiful detail…just don’t love the old gold color. Looked tired and dated. Time for a facelift!
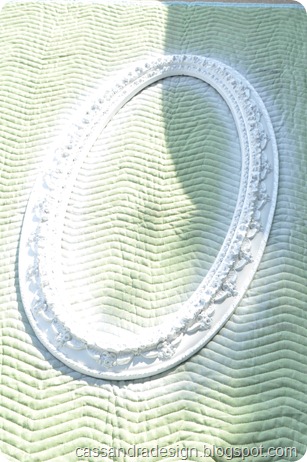
The frame didn’t come with any backing so I made my own with a piece of particle board from a local home improvement store and a hand held jig saw (yep, the same one I cut the shell off the top of the Mandy Mirror).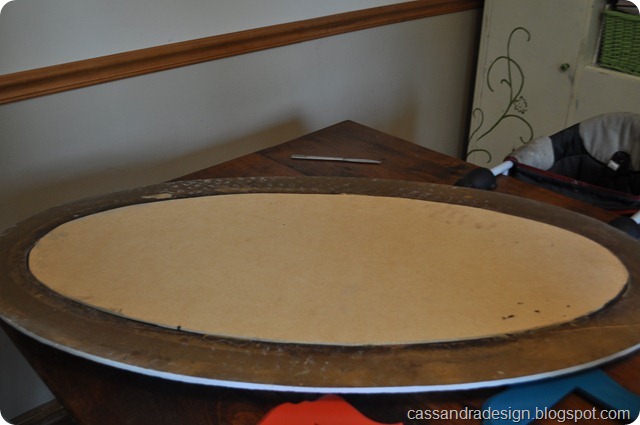

I wanted the frame to be multi functional so that when the girls were tired of it in their room, I could make it into something else, like a chalkboard (can you tell I love chalkboards lately!)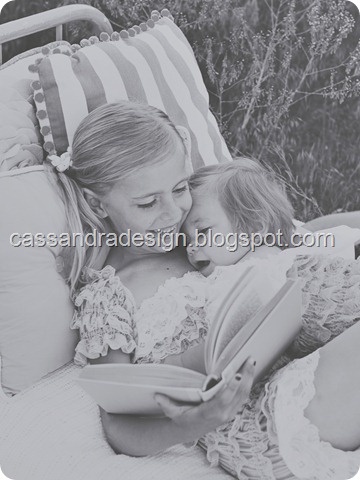

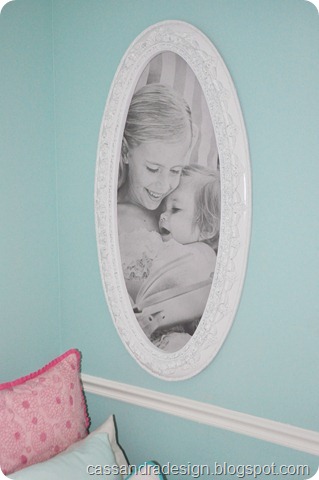
I took one of my favorite pics from the girls “bedtime story” themed birthday shoot (they were born on the same day six years apart) and went to staples to have an Engineering Print, printed. It is about fifty five cents a square foot so this 3 foot by 4 foot print was about $6. I almost could have gotten away with a 2x3 ft print(about $3) but, the length was three inches too long so I had to go up to the next size the 3x4 ft.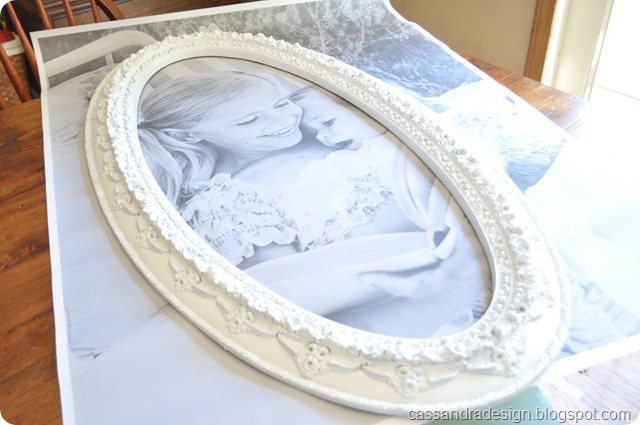

I laid the print carefully on the table and decided where to cut the paper. It’s thin paper so you do have to be careful not to make creases.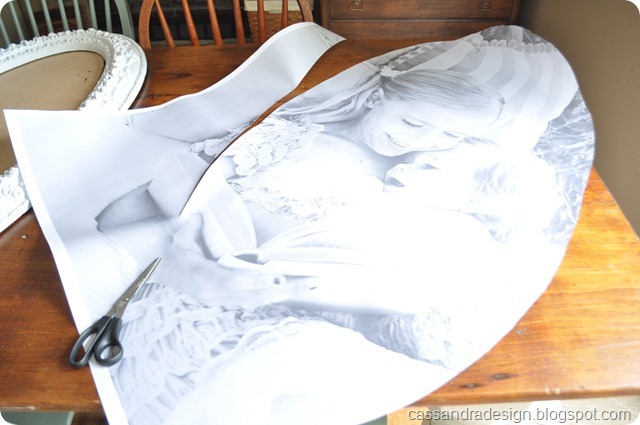

Cut out and ready to be mounted on the board. One problem, I decided that I should use a spray adhesive (which was fine) but, I wanted it protected so after it was ALL done, I sprayed a craft sealer spray over the top…BAD IDEA!! It partly soaked into the paper and created a mess!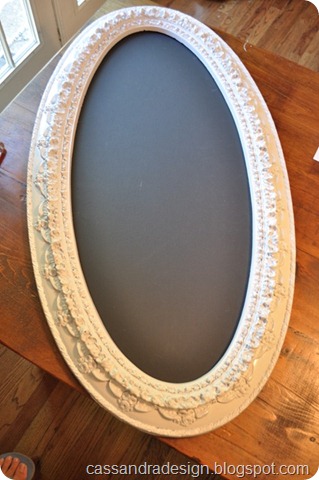
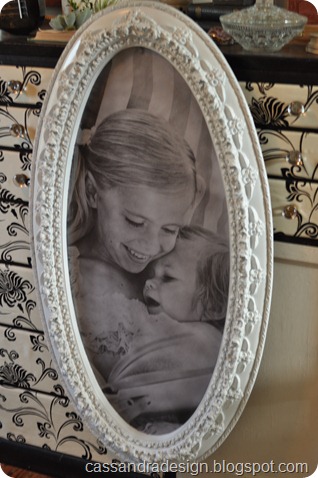


The chalkboard on one side and an Engineer print on the other (that now, I had to redo because I ruined it by trying to seal it…should have used mod podge!) So note to everyone out there that tries this…don’t use a spray sealer OVER the print, use mod podge! So, I reprinted it, cut it out and used mod podge as the adhesive under the picture. I wish I would have done half at a time because I had to reposition the print once and it created a wrinkle in my pic but, it’s barely noticable so, I left it. I definitely learned some new skills with this one so everyone learn from my mistakes and new knowledge!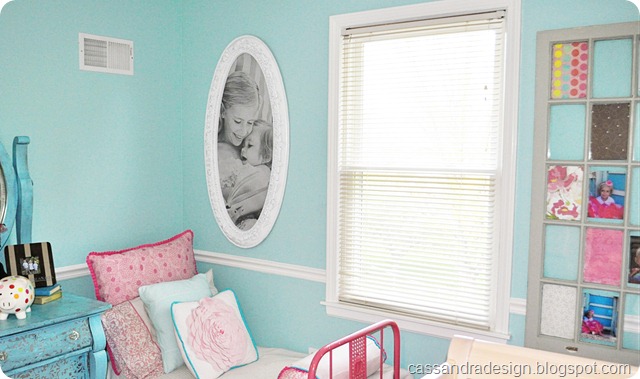

I hung it above my older daughter’s bed. I would have hung at the head of the bed but, the vent prevented that and I actually like it better on this wall because it balances out the window with all the pictures of the two girls! Love those two little ladies!
So I learned some things working with Engineering prints: they are cheap (awesome!), large scale (love that!) and now know to NOT use spray sealer over the top. Use modpodge (should have used the tried and true modpodge but, was currently out and was trying to use what I had) Oh well, it ended up turning out beautiful and my girls love it and that’s all that matters!


No comments:
Post a Comment