Wednesday, November 28, 2012

So Much to be Thankful For….

DSC_0653Warm

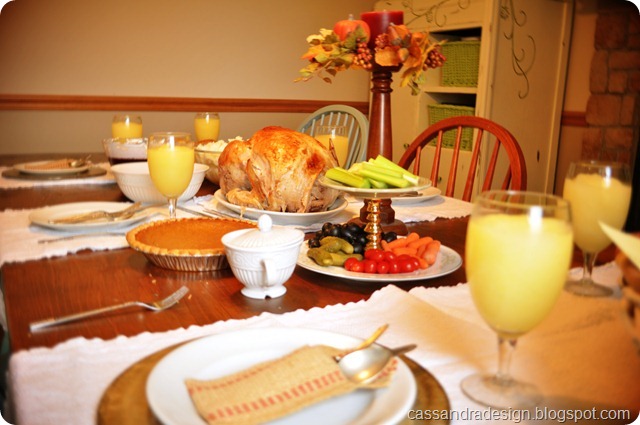
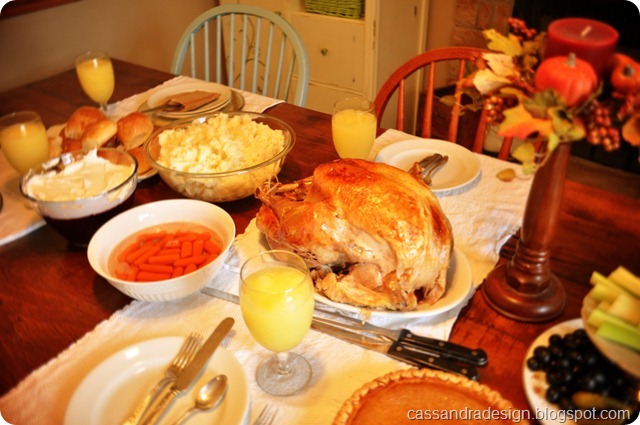
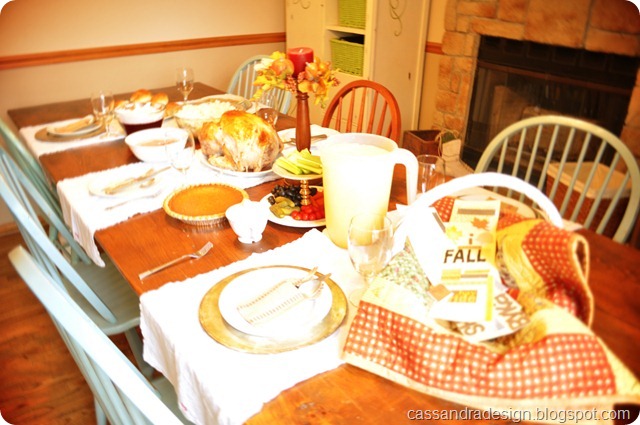
This year was the first year away from family. We were on our own this year. We wanted it to be nice and family oriented but, there was one little problem. I was scheduled to work at the hospital for the day shift. I would be off early afternoon and we made the best of it. (In other words, I did a TON of prep the day before and left a checklist with my husband to do) My husband put the turkey in to bake, peeled the potatoes and started the carrots to cook so that when I got home, we could have a nice Thanksgiving Dinner.

DSC_0647Warm

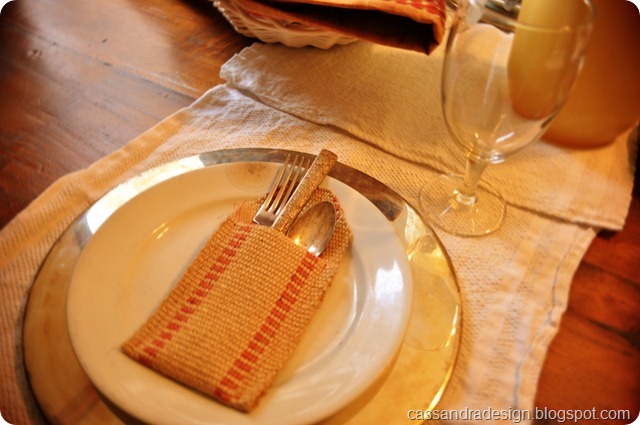
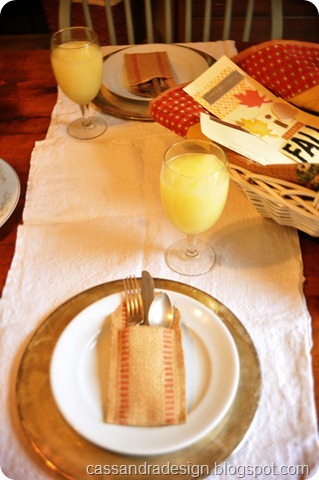
For the place settings, we used beautiful, simple items. Silver chargers, iron stone white plates, silver silverware and glass water glasses for the famous slush (that we’ve had for as long as I can remember). The silverware were set in a simple holder made from upholstery webbing. The placemats were German cloths.DSC_0640
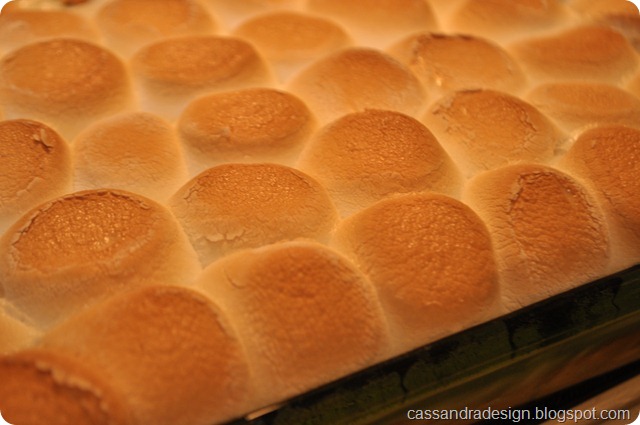
We made sweet potatoes with marshmallows on top.

DSC_0650Warm

It all smelled so good. I wanted to take a few more pictures but, my husband said, “Can we eat already, I’ve been smelling it all day!” They were ready to eat. LOL

DSC_0655Warm

The cloths are German wash cloths. I didn’t get a picture of the edge where it had the initials (A and K). I didn’t notice what the initials were until my two children with A and K names pointed that out. They thought it was pretty neat. They are beautiful cloths. I can see many dinner parties in their future! Used as runners (as seen here) or folded up beautifully next to a plate.

DSC_0652Warm

DSC_0628Warm

Because we were by ourselves for Thanksgiving, we decided to start a tradition of our own. We decorated on family night, the week before Thanksgiving, a long skinny piece of paper that they had to think about all week and then decide their top 5 favorite things they are thankful for. It was a great idea and the kids were really excited to share. One of the funniest things my 6 year old said he was thankful for was Shrimp. LOL Who knew?

I have so much to be thankful for!

CassySignature2

Monday, November 19, 2012

Vaseline and Paint…on 100 Year Old Ceiling Tile

DSC_0220

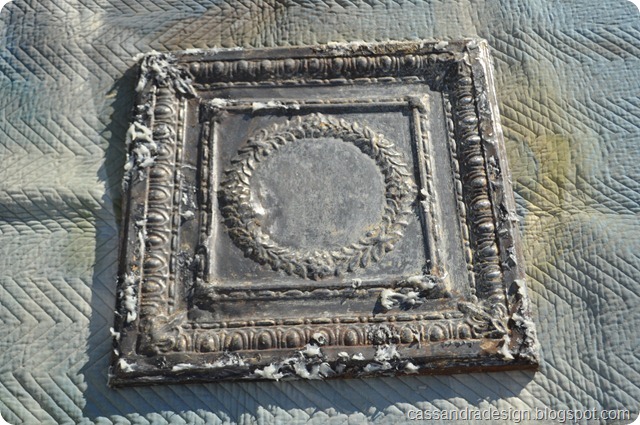
So here is where I left off…I had just conformed these ceiling tiles around the edge of a wood board to make them in to magnet boards and the paint on one of the tiles started coming off in CHUNKS (like 5 inch sections). So sad! I really wanted to preserve the beautiful chippy loveliness of the tiles but, I now had to come up with something else so that it would still look original and this is what I came up with…..Vaseline.
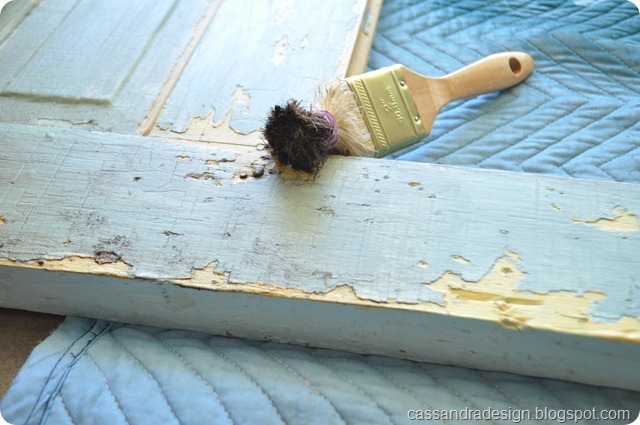
DSC_0478

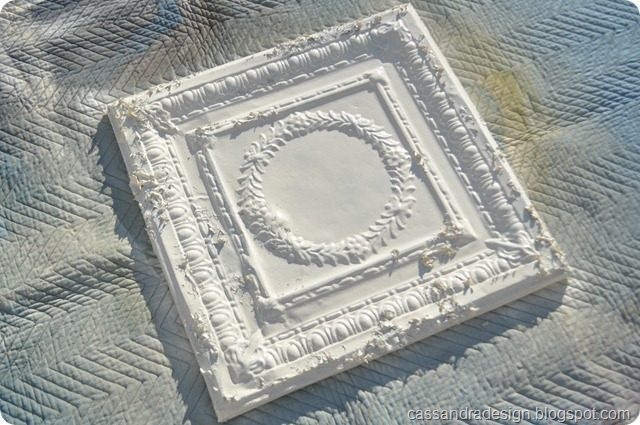
After all the paint was removed I gobbed on the Vaseline. I used almost a half a jar of dollar store petroleum jelly. I put it on with a Q-tip so I wouldn’t get my hands so yucky. Then I painted it the closest color that I had (my heirloom white) and it was too white. So I mixed my own spray paint with two different brands to get just the right white. Yeah, I’ve never mixed spray paints while they are wet before but, hey it worked.

DSC_0479

Love the detail of the tile!

DSC_0480

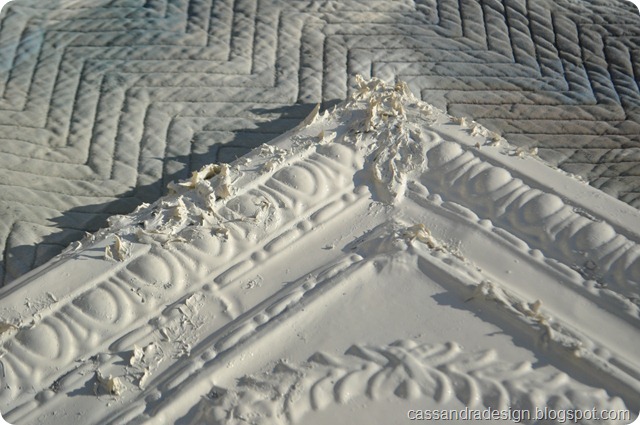
Two different spray paints mixed together to produce just the right white to match the other “original” painted tiles. The vaseline just keeps the paint from sticking to the areas where it is applied to. Kinda like the wax technique but, you don’t have to sand back to reveal the areas where the wax was applied.

DSC_0481

You can see where the vaseline was applied. Let it dry completely before you wipe or you will mess up the finish around the vaseline areas. Be patient!

DSC_0482

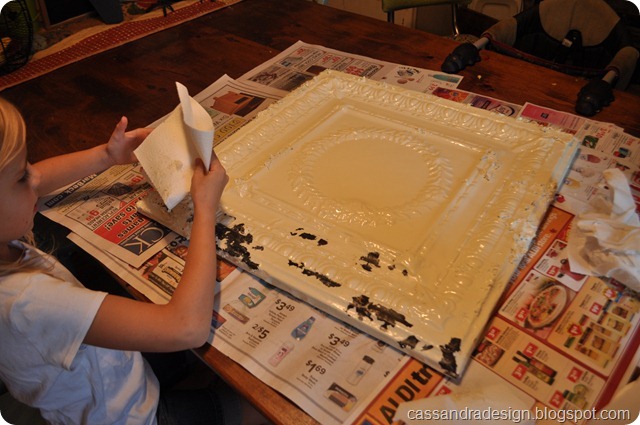
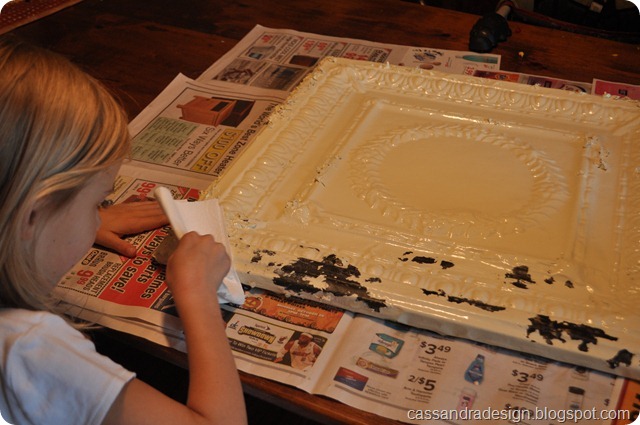
Then my daughter wanted to be the first to see if the vaseline really worked. Fingers crossed!

It worked! Leaving the original patina of the 100 year old tiles showing through. Phew!

Beautiful!

DSC_0483

We used paper towels to take the paint off because I just wanted to throw away the rags when I was done…kinda messy! Although your fingers are thoroughly moisturized by the time you are done with this project. Ha ha!

DSC_0559

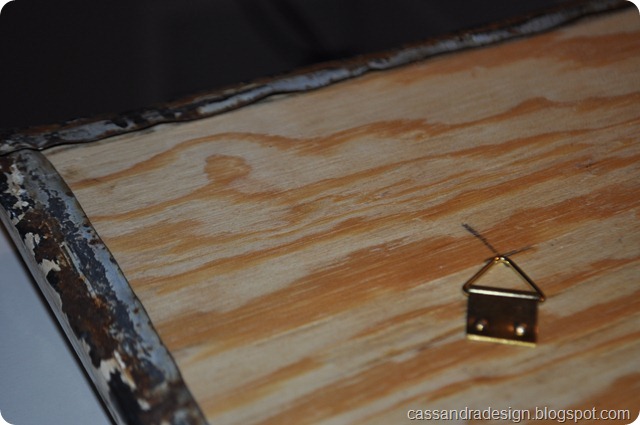
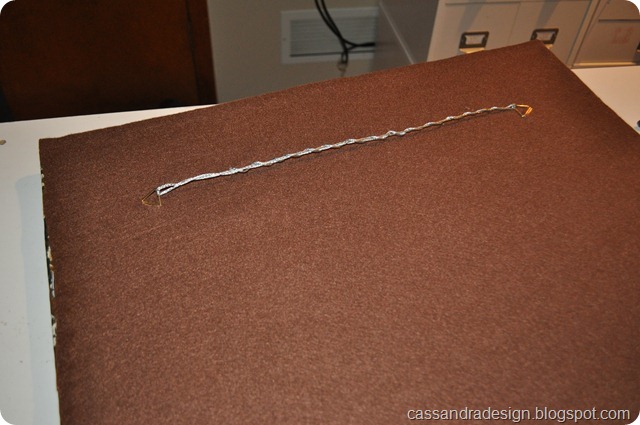
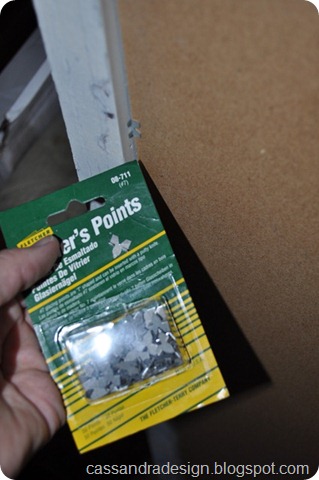
I attached picture hangers to the back and felt so there wouldn’t be any scratching of the walls.DSC_0562

I used picture hanging supplies bought at walmart.DSC_0565

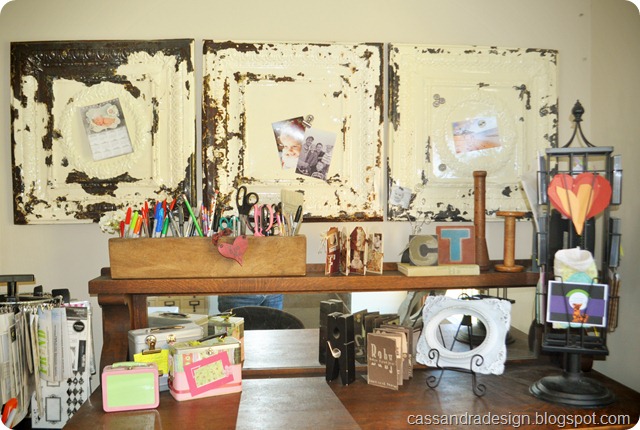
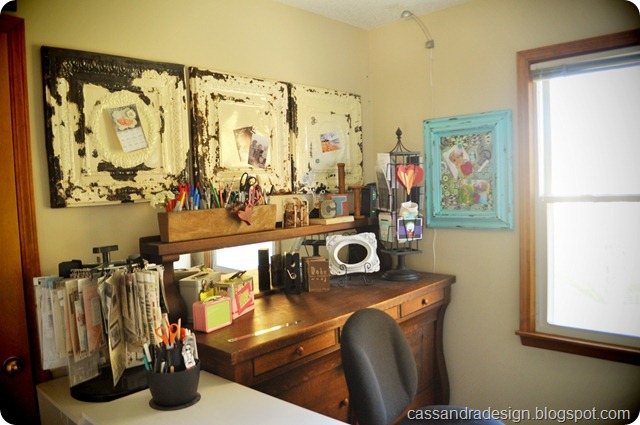
They are now hung in my studio……

DRUM ROLL PLEASE!!!!!!

DSC_0568Warmer

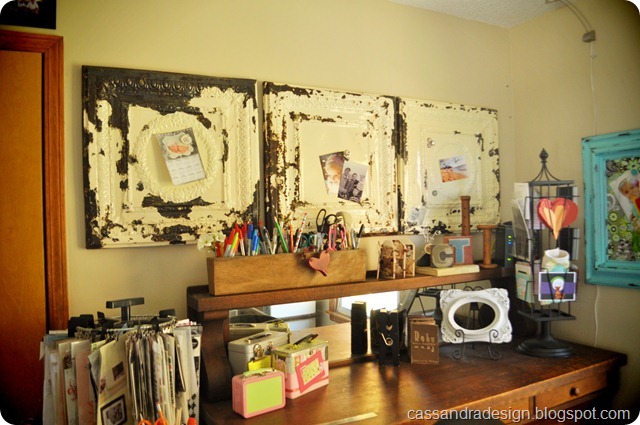
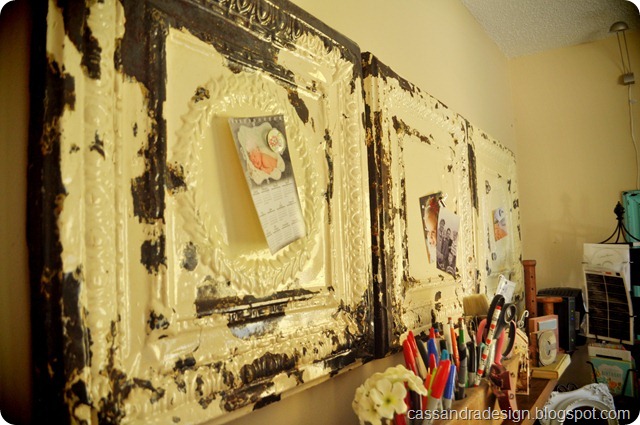
Can you tell which one isn’t original paint/patina? Wahoo! I almost can’t remember which one it is…I guess that is a really good sign.  Vaseline worked and I have my original beauty that I fell in love with, the first time I saw them! I am so happy with how they turned out!

DSC_0573Warmer

They are so pretty……and functional!

DSC_0570Warmer

They fit perfectly above my fabric buffet. (although I thought only two would fit and I would give one of the ceiling tiles to my sister for Christmas, nope….keeping all three and now I have to figure out what to give her for Christmas. I am really happy I didn’t get rid of one of my set!)

DSC_0573Warmer

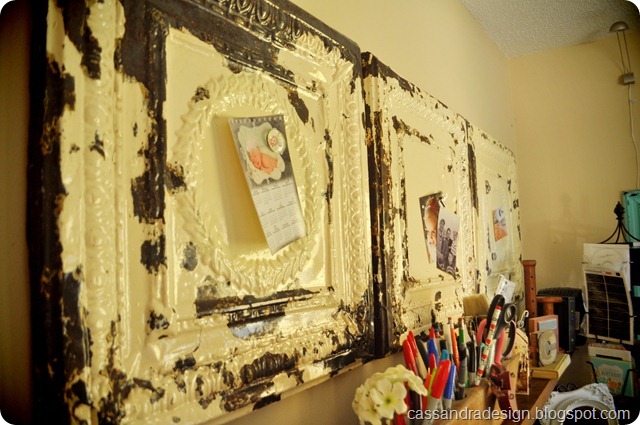
Now I have a place to hang my ideas, pictures or thoughts! So perfect for this space! My studio is finally coming together, piece by piece!DSC_0578Warmer

Can you tell which one I did the vaseline technique on?

CassySignature2

Friday, November 16, 2012

100 Year Old Ceiling Tile Magnet Boards

DSC_0207

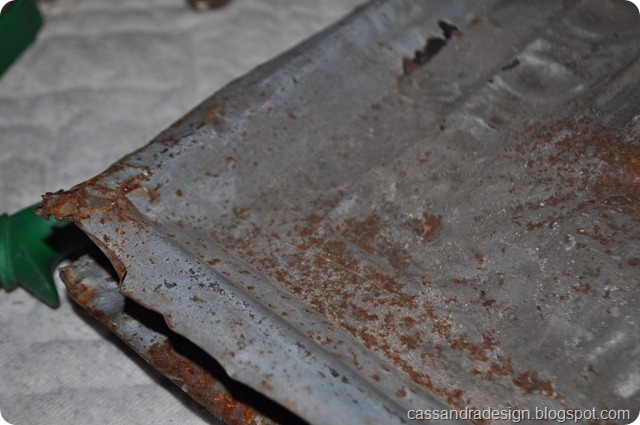
These ceiling tiles are one of the few projects that I never got around to doing before we moved, even though I had shipped the ceiling tiles back with my cubby-hole cabinet from Kansas when my husband came for his interview last November. I love these tiles and their wonderful character and they just HAD to come home with me. Now I wanted to turn them into something useful, accentuating their beautiful features yet making them functional.DSC_0208

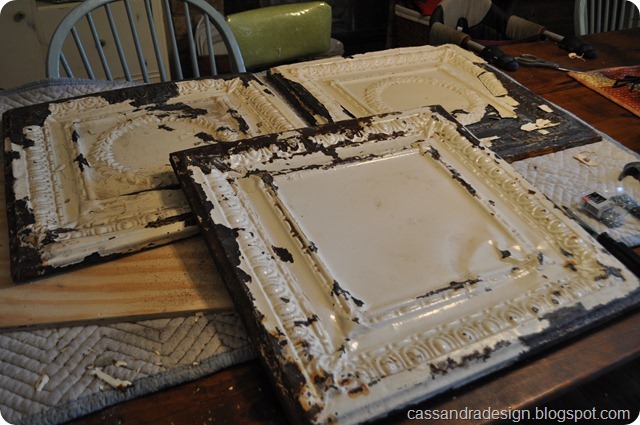
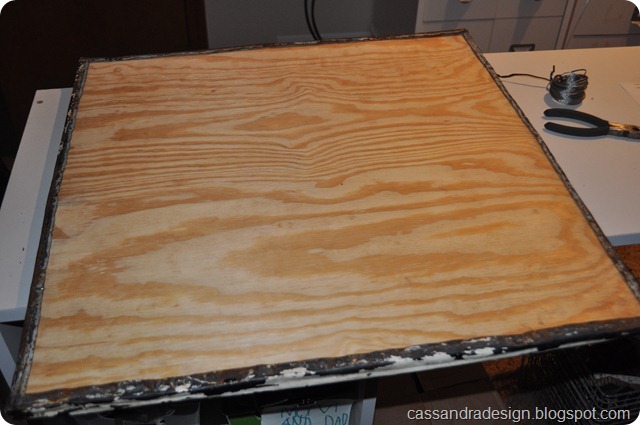
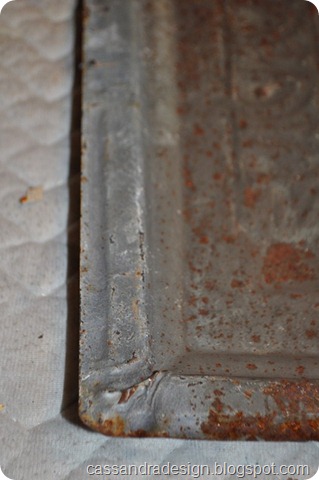
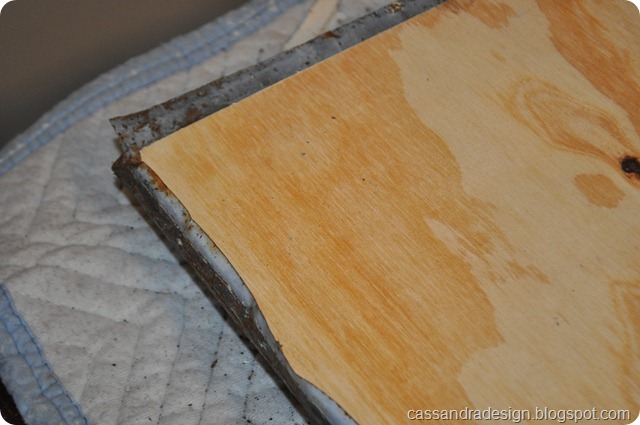
The ceiling tiles had a natural edge where they overlap and are attached to the ceiling. The edge on the tiles (where they overlapped on the ceiling) made it an obvious edge to wrap up the board and around to the back of the magnet boards. The boards had to be exactly the same thickness of the lip so I found boards that exact thickness as this lip and had the boards cut (at my local Home Depot) to fit INSIDE the groove. They came out to about 21 1/2 inches square. DSC_0213

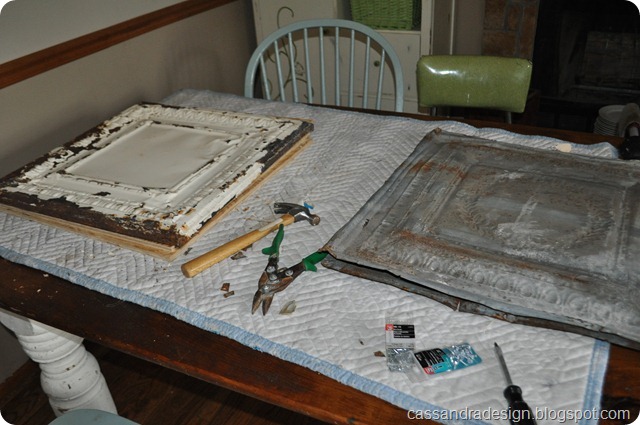
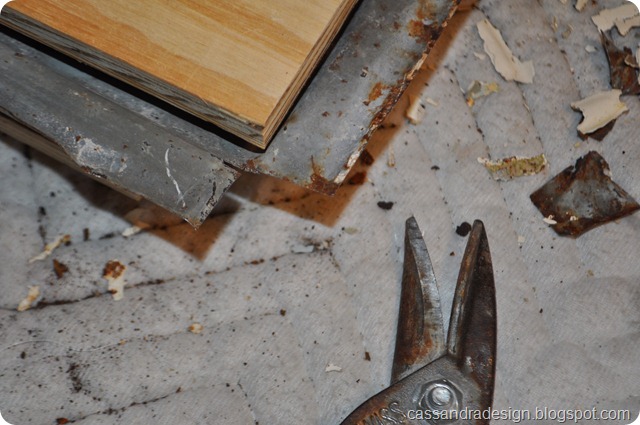
I cut out the corner so the metal could bend around the wood.

DSC_0210

I snipped the corners with tin snips. Cut like butter!DSC_0214

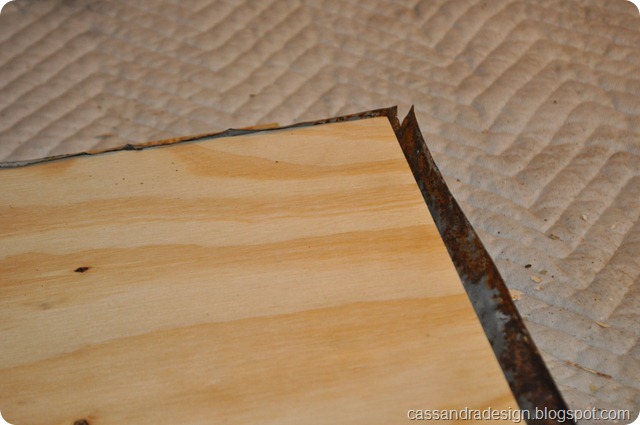
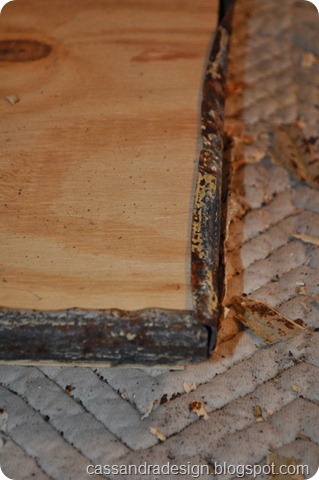
The hardest part was hammering the edges up and over the top of the board. I didn’t want to hurt the wonderful chippy white paint but you definitely had to hammer to get the metal to conform.DSC_0215

The metal wrapped up the side and around to the back.DSC_0218

I overlapped the corners.DSC_0219

Once I had them all shaped and fit to the boards, one of the tins was chipping off it’s paint in HUGE chunks (See back right tin) and I even had the crazy idea of just gluing back on the chunks. LOL I know, not the best solution since I couldn’t prevent the paint from chipping off everywhere but I didn’t want to lose the beautiful paint that matched the other two magnetic boards so….I came up with a plan……vaseline! Stay tuned and I’ll show you how I made the one look like the original other two!

CassySignature2

Wednesday, November 14, 2012

Painted (message center) Door

DSC_0818DSC_0799

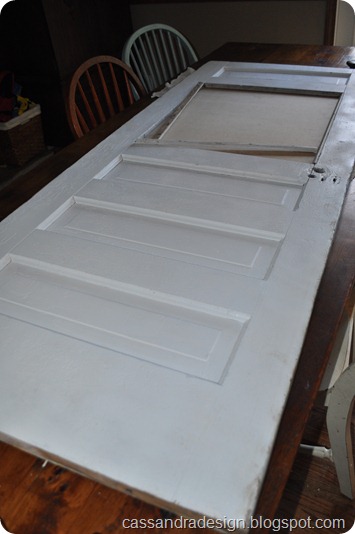
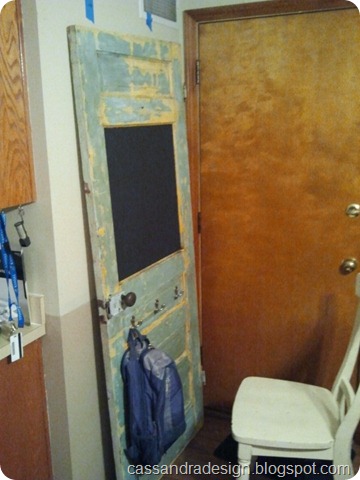
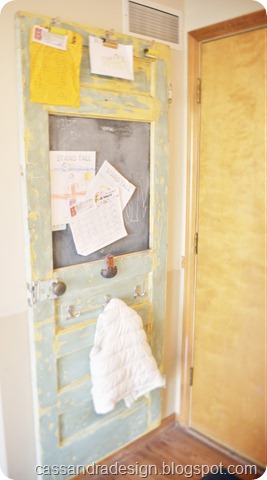
I found this door that had A LOT of great features. It was a little boring and needed some color but, the structure was there to do exactly what I needed it to do. I needed a central area for book bags, homework, message center and it all had to fit on a small wall between the kitchen and the door to the garage. This space has to work hard to do all I need it to do for our family. (You can see the one I did for our Utah home HERE) I loved the message center at our last house and I have sorely missed it and knew I needed to do one here.

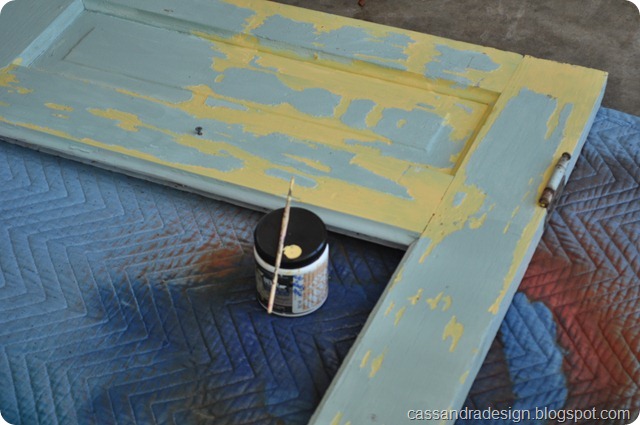
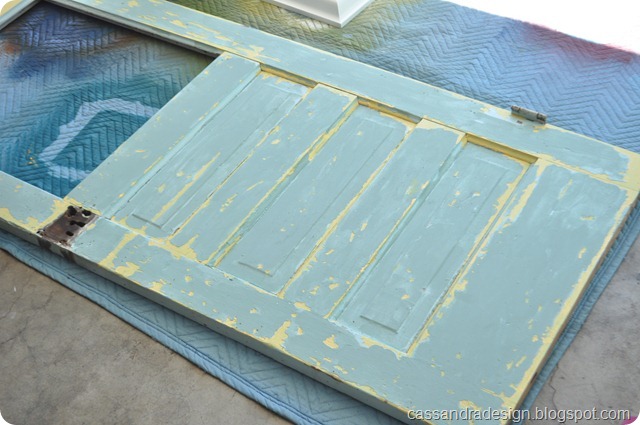
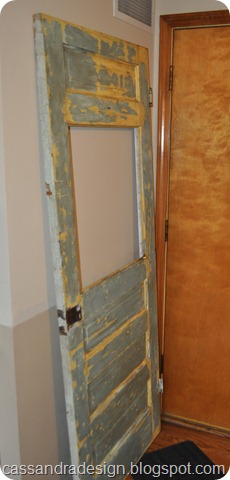
I started by making the antique door WAY more interesting….COLOR!!!

DSC_0741

I painted it duck egg blue and decided the texture of the door should be used to my advantage (it looked like it had layers of paint)…add another color….some beautiful yellow I had on my shelf. Some sample I had bought years ago and it worked great for this project. It just had to be hand painted around where the paint had chipped off. A little time consuming but it gave the beautiful old door it’s CHARACTER back!DSC_0742

DSC_0746

Then I waxed with a clear wax and then applied a dark wax over top.

DSC_0750

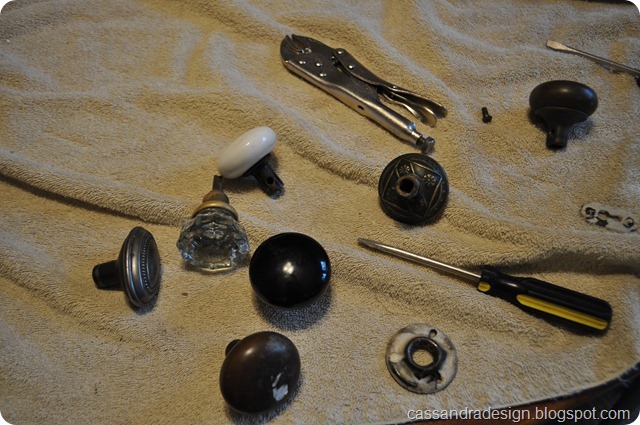
The hardware was ready to be put back on but I needed to decide which antique door knob to add to the original hardware.

DSC_0804DSC_0805DSC_0806DSC_0807

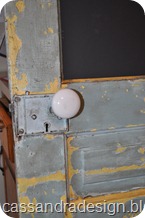
I tried black, oval, crystal and porcelain. The one I chose was…DSC_0812

DSC_0811

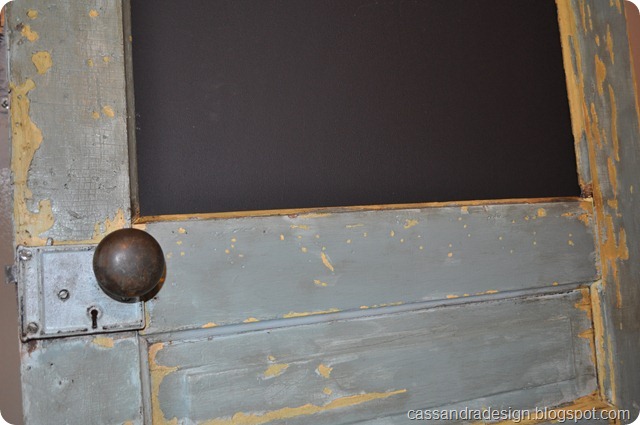
The brown metal knob because it went with the brown glaze and the chalk holder.

DSC_0841Saturation

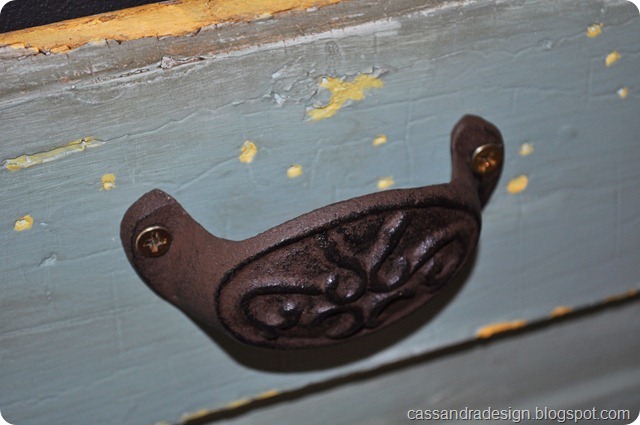
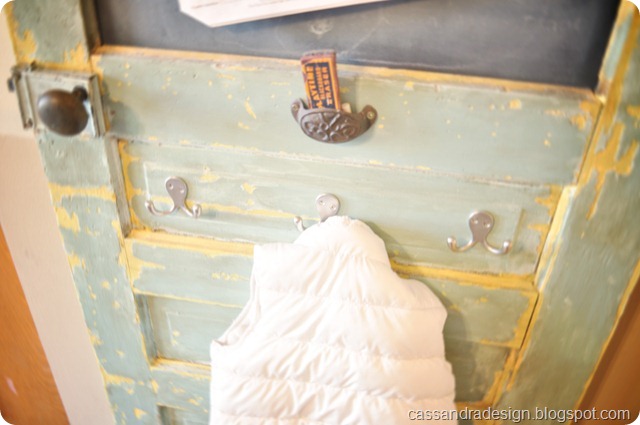
I turned a drawer pull upside down so that I could have a place to hold the chalk and eraser.

DSC_0843DSC_0796

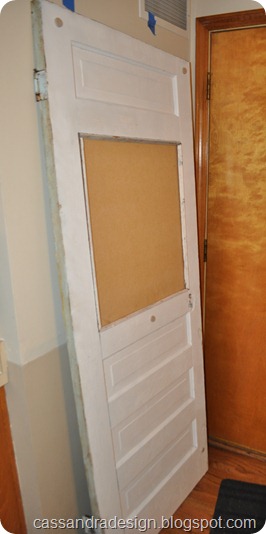
The door was missing it’s original glass so I added a magnetic chalkboard so the kids can leave notes or magnet papers up.DSC_0820LightsOn

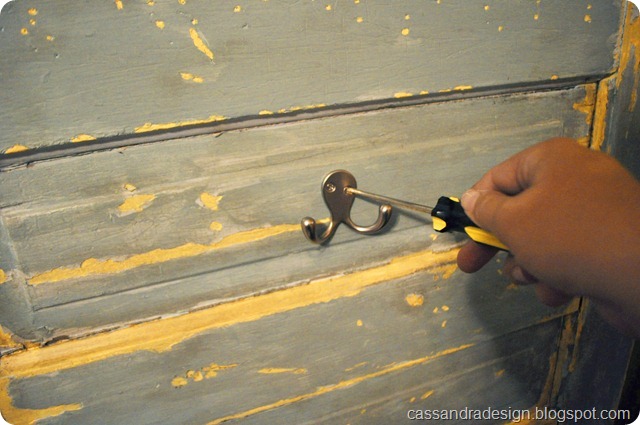
I added some hooks for book bags and jackets.

DSC_0840

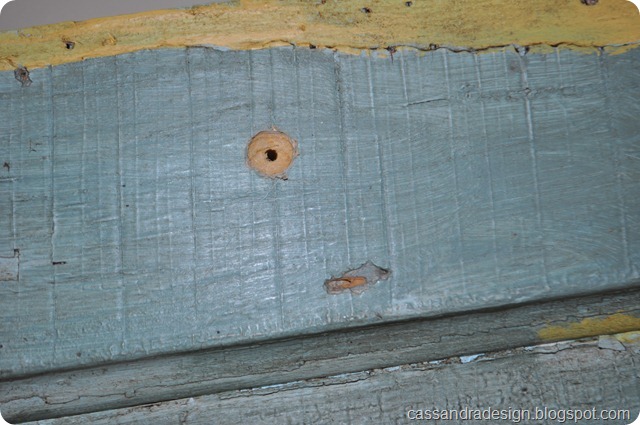
I then needed a way to hang it on the wall in the studs and a screw is the only thing that would hold. I drilled the holes and counter sink the screws so they wouldn’t stick up on the door.2012-09-14 19.45.43

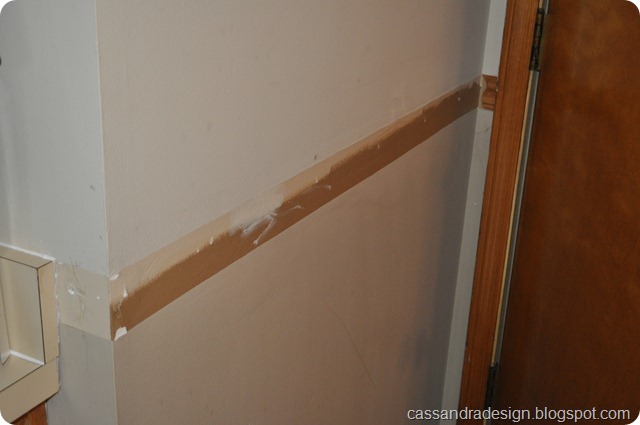
I found the studs and marked them with tape so I could find where they would hit on the door to be able to drill the holes to attach it securely to the wall.

DSC_0795

I had to call and ask the home owners if we could take the trim off this wall and they were okay with that. (See, what did I tell you….they are great!)DSC_0813

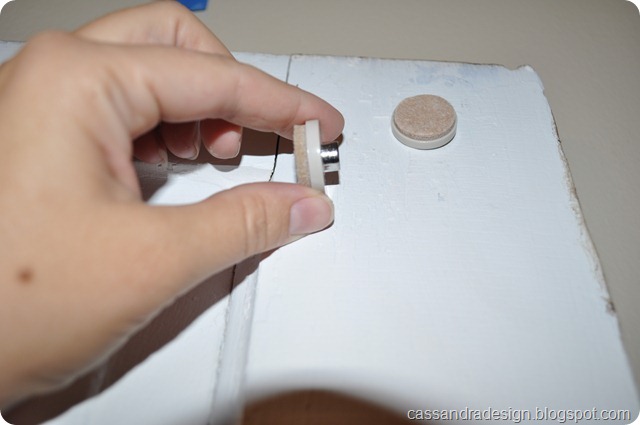
I attached chair feet to the back so it didn’t ruin the wall (it also helped with the hardware that stuck out on the back, just a little. This gave it the clearance it needed to sit flat against the wall.1347669945450

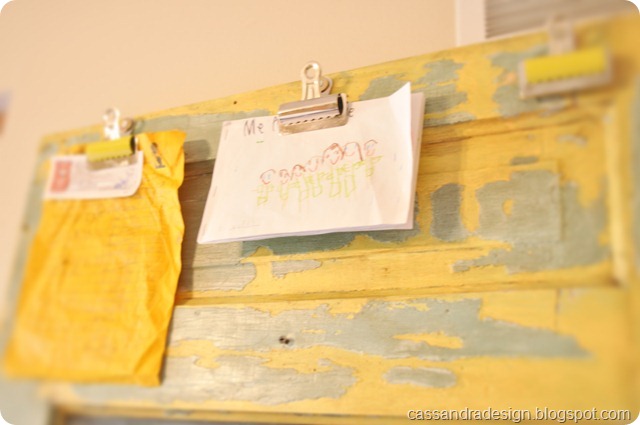
Once it was attached to the wall, I realized it didn’t have enough hooks, so I added bull dog clips for homework at the top of the door.DSC_0621EdgeBlurDSC_0618SugarRush

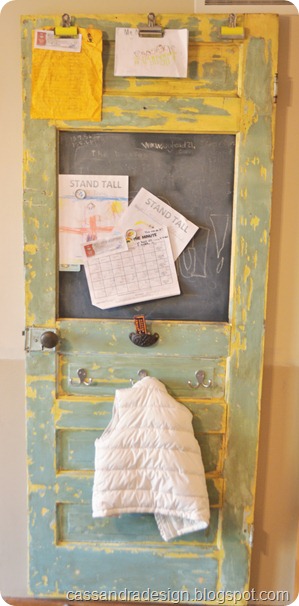
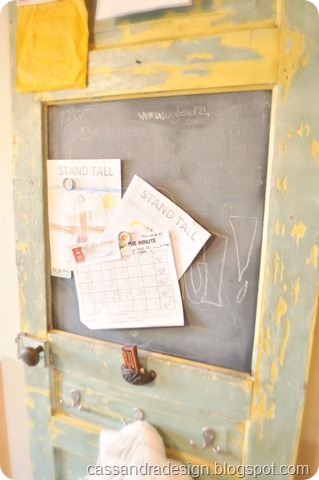
This is it after over a month of use….it’s well loved and I L-O-V-E the messages I find on it. On my birthday, I found a message that the kids were going to make me my favorite breakfast…they heated up some pancakes…PERFECT!

DSC_0622EdgeBlur

The chalkboard is magnetic which makes it not only a chalkboard to write on and but you can magnet homework to. DSC_0623BlurredEdge

The hooks are perfect for coats and book bags (no book bags pictured, the kids had them at school lol)

DSC_0613EdgeBlur

Now I have my message center door and it turned out beautiful! The kids hang their book bags, jackets and magnet their notes for me or they can hang their artwork on the bull dog clips at the top. I love that we can display their art for a week and then it can go to the save bin because I would never have enough wall space to display all their beautiful artwork. The message center created storage for back packs and coats and a way to keep homework in one place. It’s perfect to help keep our family organized!

CassySignature2

LinkWithin

Related Posts with Thumbnails